
Is anyone else ready for spring?
- Mamatomo Mama

- Mar 15, 2018
- 2 min read
There's nothing that heralds the beginning of Spring quite like the cherry blossoms bursting into bloom.

This is not a craft which I did with my daughter although I made the headband for her. It was a craft I did for myself, by myself - because crafting by yourself is a great way to relax and you get something great at the end of it! I am utterly done with winter and plan to bring spring into our home even if outdoors the weather tells us we have some more waiting to do.
I found some instructions online to make cherry blossom flowers but they suggested you cut the petals individually. I decided to keep the whole flower as one as it was much faster and less fiddly. I'm a bit like that - cut corners where you can!

Using a template, I cut a basic petal shape (keeping it square at the bottom) and traced it onto felt. I planned to make two flowers so 5 each per flower and 10 in total. Fitting them together like you see in the picture saved cutting time. You might want to make a larger template out of paper and pin it to the felt to avoid using pen. I used pen so that its easy to see!

With a needle and thread, sew through the felt shape aiming for one stitch below each point

Pull the thread tightly to gather up the felt into a flower shape. Either sew or hot glue it together. I sewed a little pearl into the centre of each flower.

Using waxed cotton cord and ribbon, I wrapped an entire headband so that the plastic was no longer visible (except at the very ends). I tucked the edges in and used hot glue to hold in place.

I decided on three mother of pearl buttons as the base to hold the flowers and leaves in place.

Hot glue everything into place. Its as easy as that!
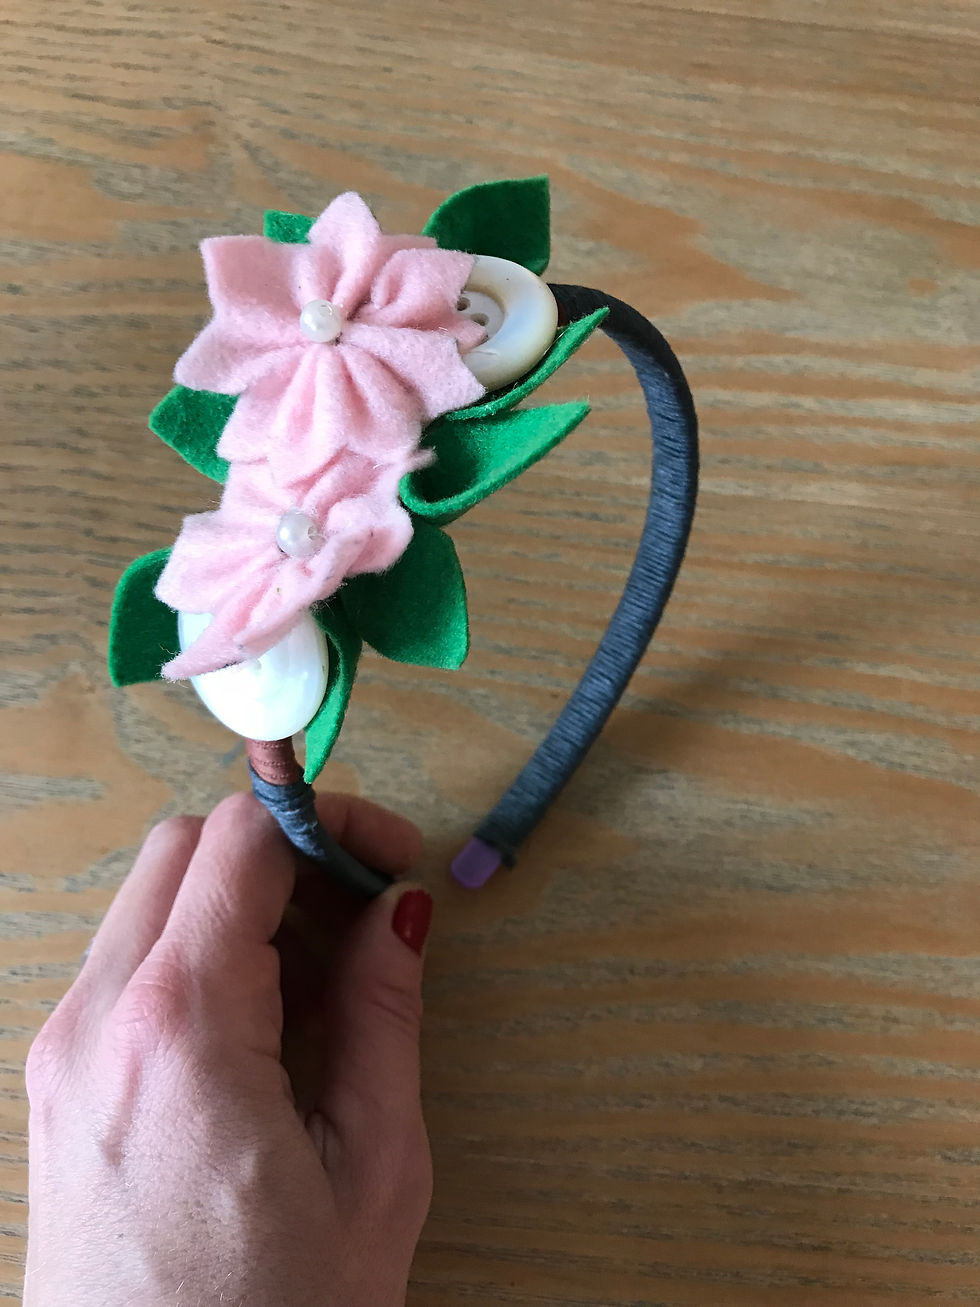
I ended up making more leaves to go around the sides and just kept glueing until I was happy with the layout and overall shape. Happy spring to you all!
#springtime #craft #craftsforkids #mommyblog #mummyblog #sakura #cherryblossom #kidsfashion #kidsaccessories


Comments